

My husband is one, if not the biggest nerd I know. He grew up on Comic books, video games and everything Super Hero! So needless to say when we found out we were having a boy he wanted to recreate his childhood in this little guys room. We started out with Calvin and Hobbs, then went to super heroes and robots ...just to land on a totally random, anything and everything that screams baby nerd kind of room;) And I am totally in love!
While little guys nursery is not totally complete yet I will show you how I made these AWESOME comic book letters. They are super easy and I made a 7 letter name for around 20 dollars, 25 if you have to buy Mod Podge.
These would be a huge hit for anyone. You could use the same idea to make some cool WINE letters for a kitchen or simply using pretty fabric for a dining room/ living area. Not to mention a little girl nursery with all things girl.We love to see your ideas too so our fan base can grab as many ideas as possible! Please share your ideas or comments below if you have any!
Here we go:)
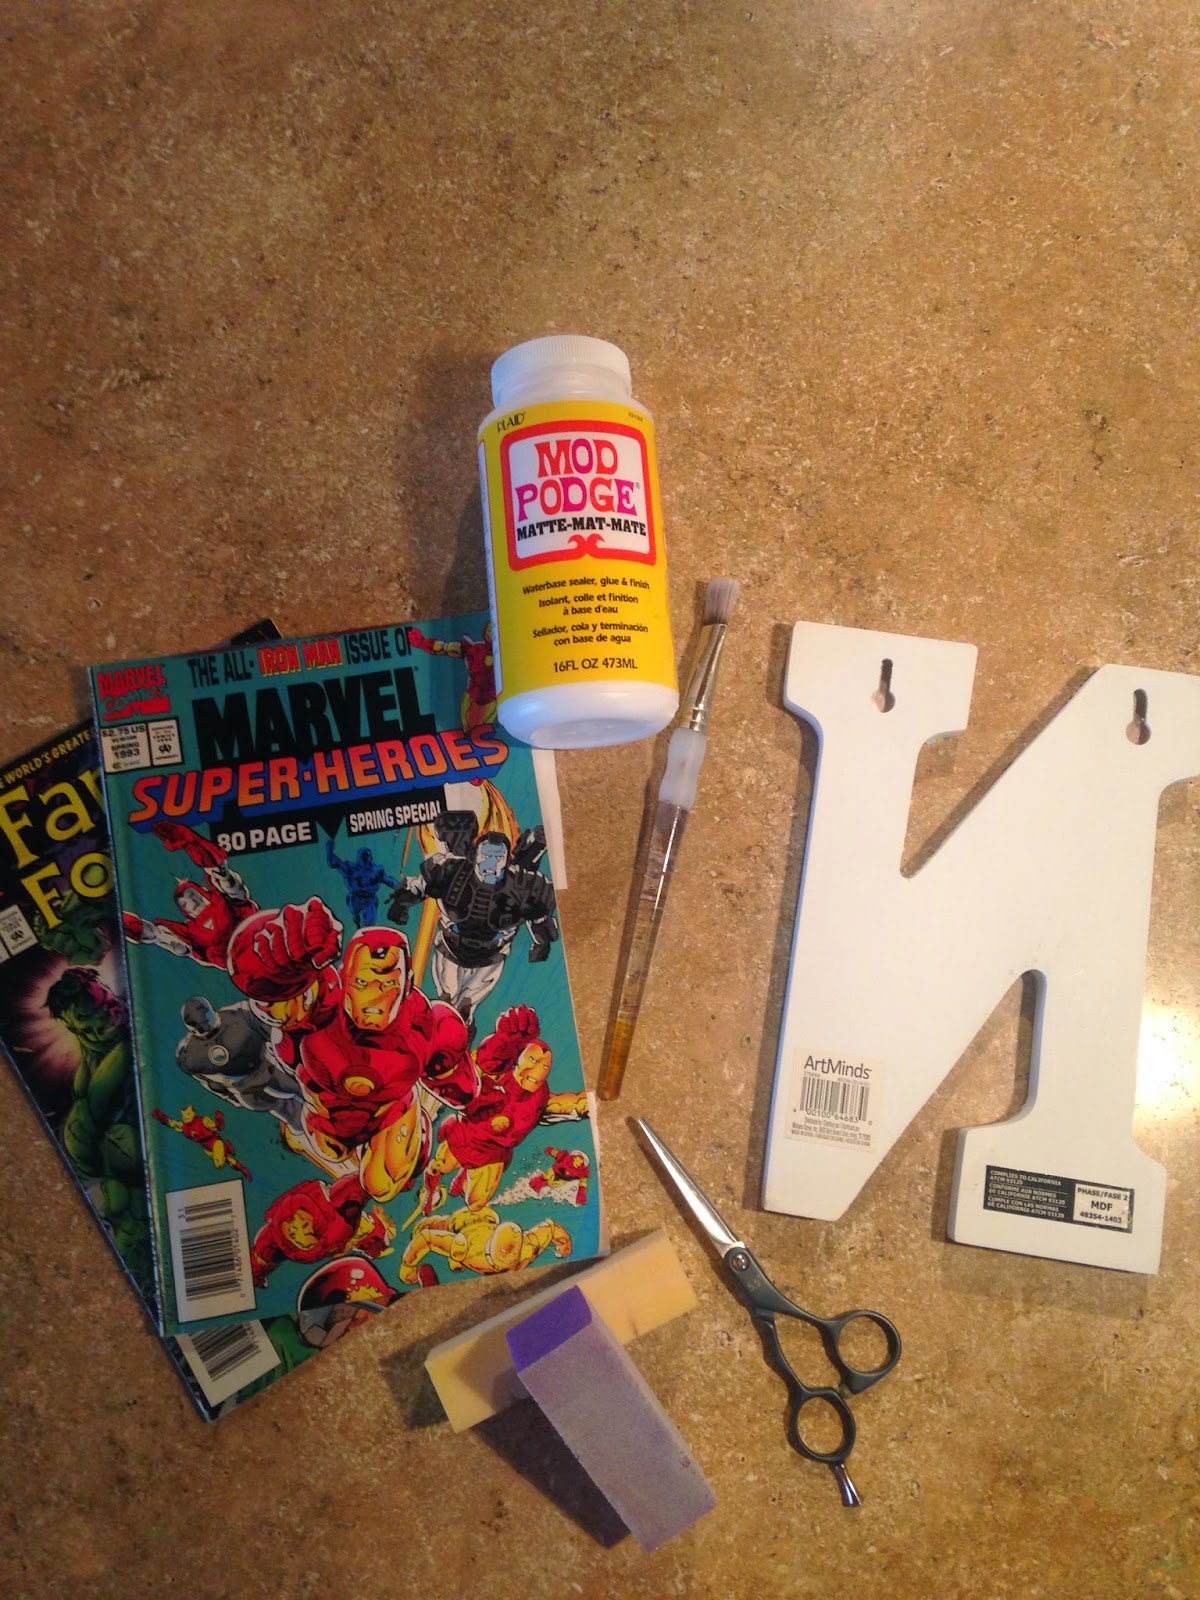 Materials:
- Pair of regular ole scissors
- Comic books, new or old. I got mine from a friend who had tons of extras! But be prepared your husband or maybe even you will have a hard time cutting into these bad boys:)
- Buffer nail file
- Micheal's Letters, size is up to you.
- Mod Podge
- Painters paint brush
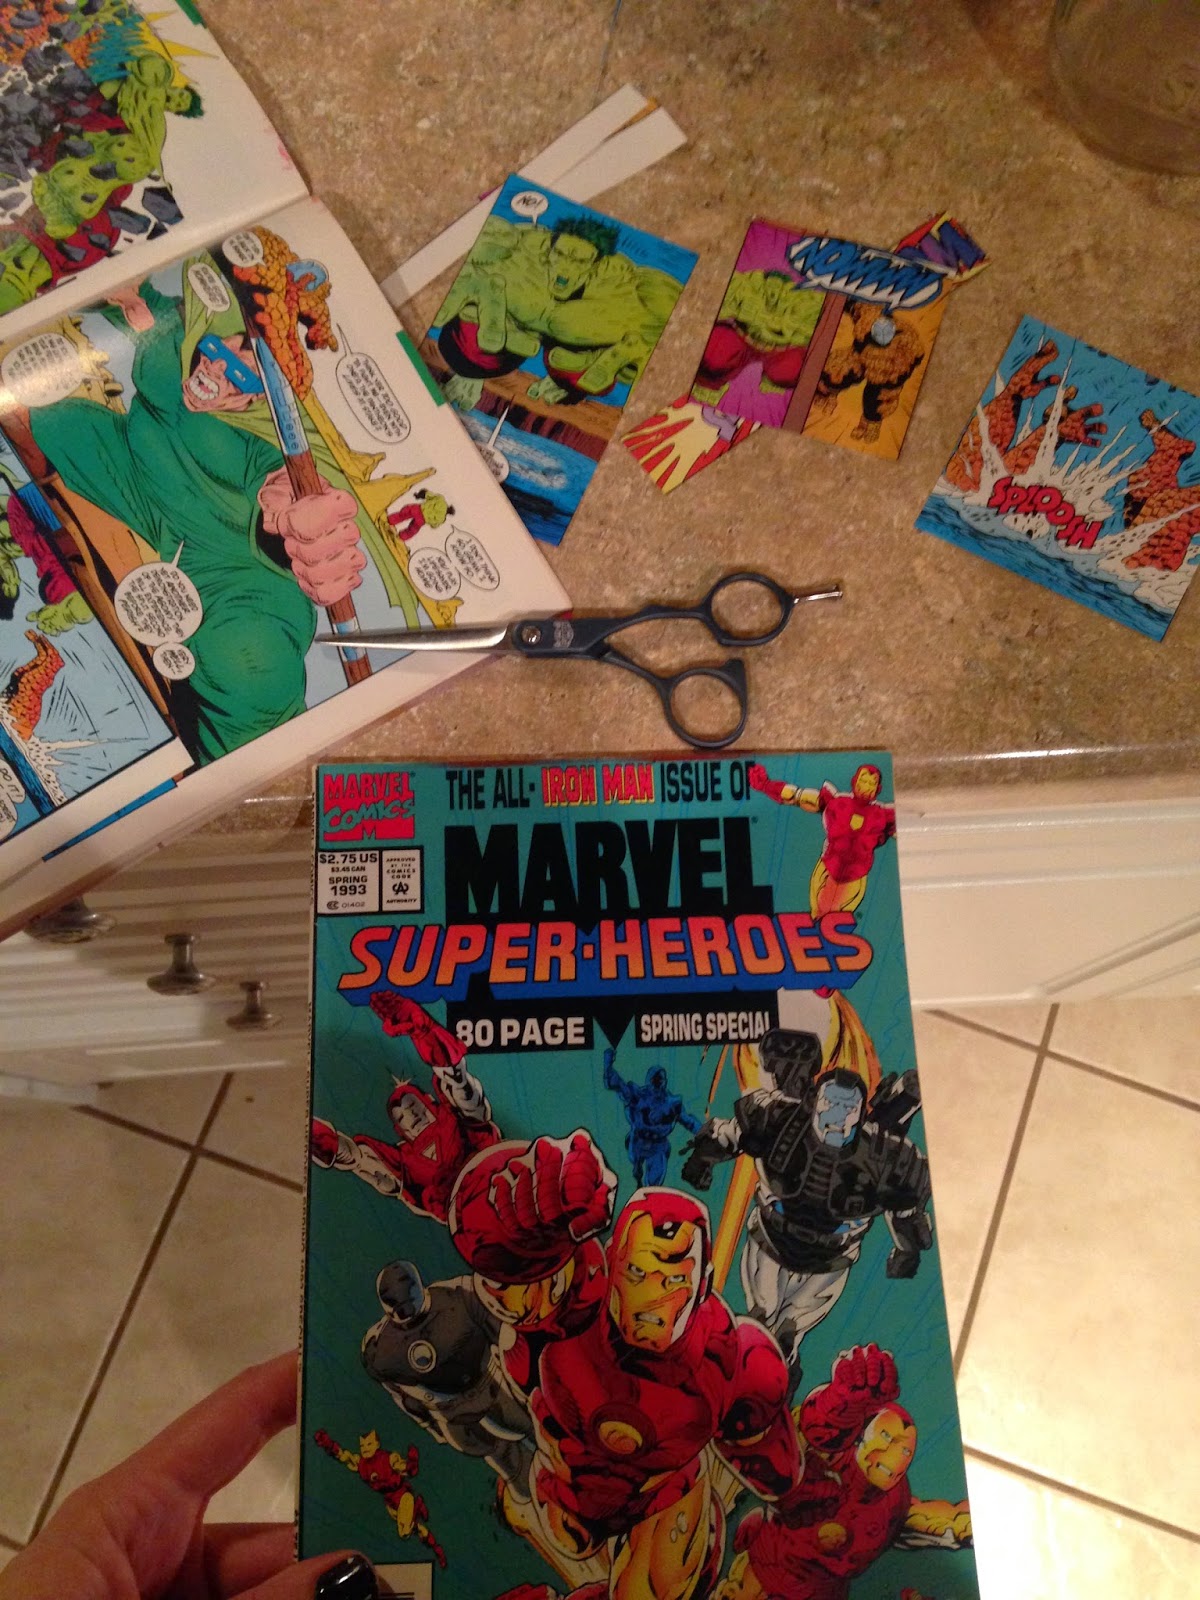
Step 1:
Cut out all of your favorite pictures, or fabric, whatever your creative mind is using.
Step 2:
Place one thin coat of Mod Podge down before you put the Comic/material on, once the thin layer is applied lay out where you would like everything to be on the letter. Move on to the next letter as this needs about 15 minutes to dry. Then place a layer of Mod Podge over the entire face of the letter, I didn't do sides or back as I wanted them to remain white, but this is up to you:) Let sit overnight, at least 8 hours.

Step 3:
After completely dry, take scissors to the edges to remove the paper that is hanging off the sides. Now, remember don't try to get the perfect cut as you will most likely chip the wood or cut too deep and tear the paper from the letter. This is wear the handy dandy buffer files come in to play!!
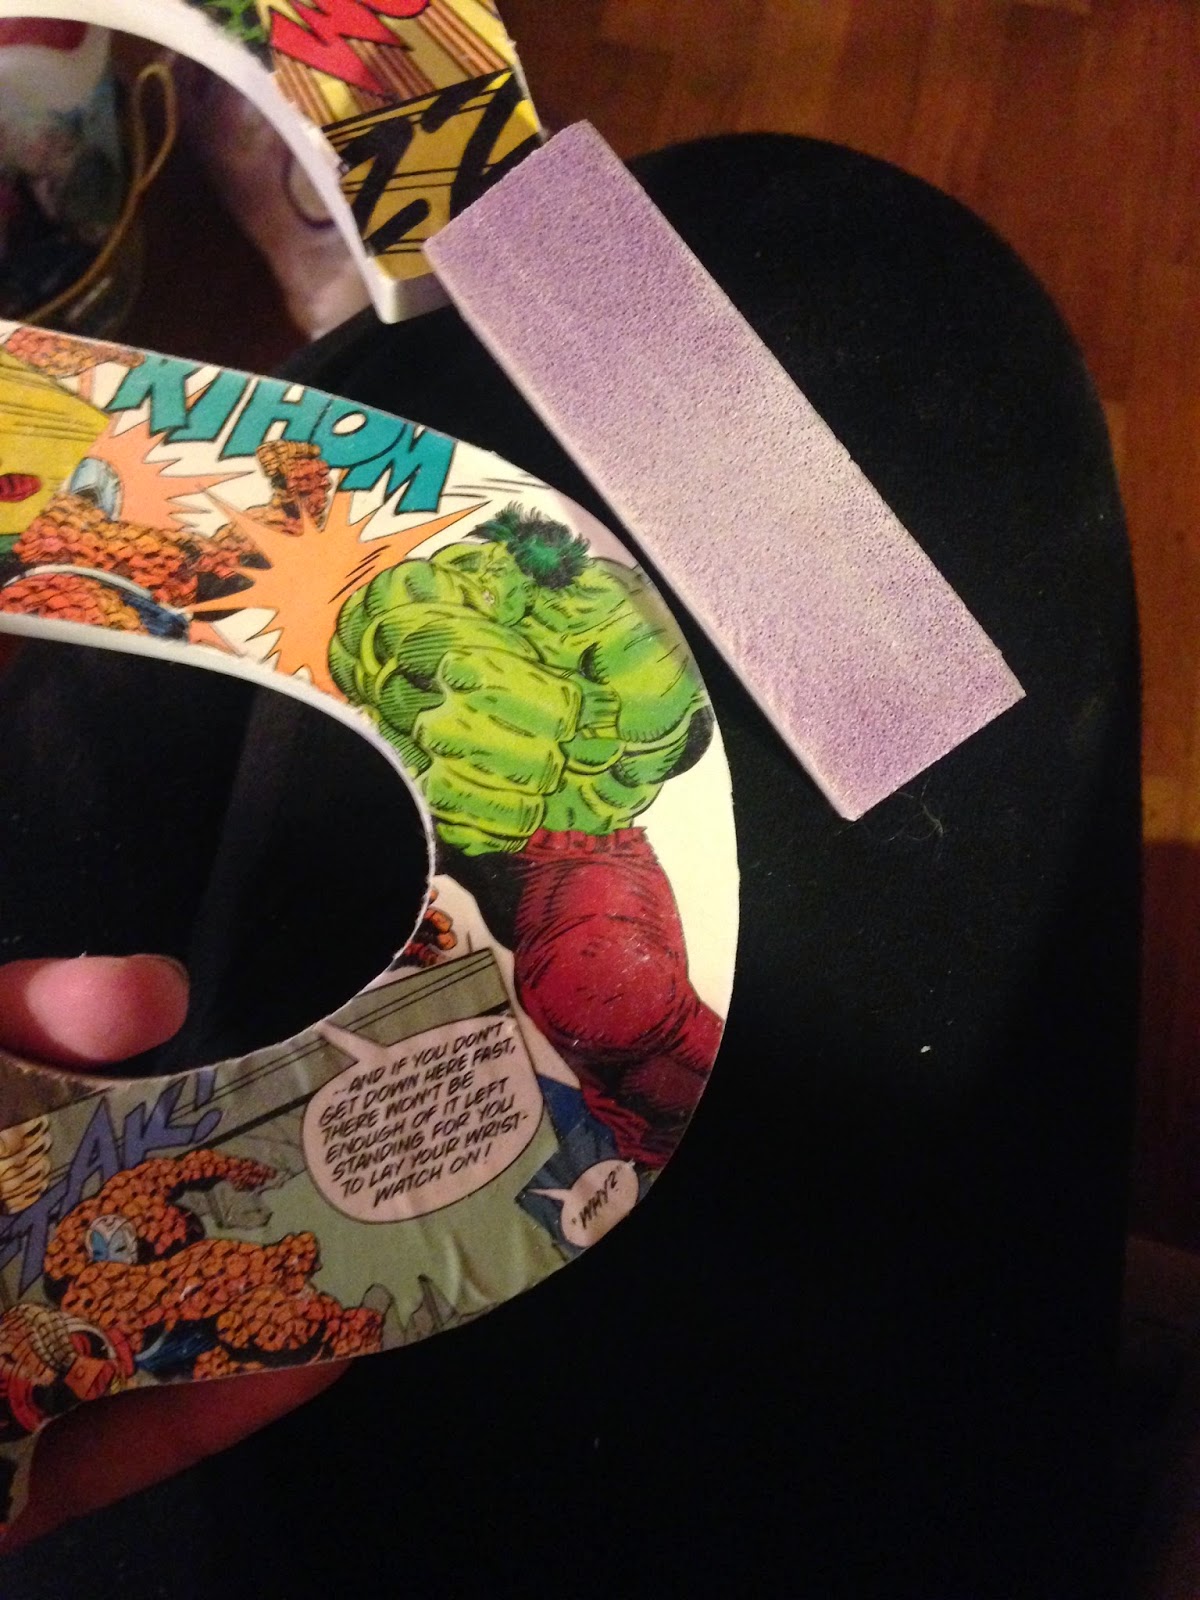
Step 4:
This step is the most tedious, so put on a movie and grab yourself a BIG glass of whatever your flavor is. For me it was "Baby Mama" and a bottle of water as I am about ready to have this little guy:) So..take a buffer file, I had an old one that I used for a few letters, but a fresh one works best! I began in a downward motion until I could see it beginning to crease, then just pulled it clean off.
BE WARNED: All edges must of COMPLETELY dry, do not try to do this when the Mod Podge is wet, paper WILL rip!
Place on one more coat of Mod Podge over all the letters, let sit for another 8 hours. And you are finished!! Super easy, and quite fun:) ENJOY


Ok that is super cute! I put up letters for my baby's name in her nursery but I just painted them white, now I wish I had done something more creative like this!
ReplyDelete